How to Contribute and Build
You thought of an assertion that you'd like to add to Light.GuardClauses? That's awesome! Here is how you can add your ideas to the project:
- Create an issue: before doing anything else, please create an issue where you describe what you have in mind. This way you and I can discuss and coordinate the implementation of your idea.
- Get the source code: fork and clone the repository. Get accustomed to the way Light.GuardClauses is structured and how the functional and performance tests are written. Please use the same style guide as the rest of the source code.
- Create a branch for each feature: besides the actual implementation, each feature should be tested functionally (in the Light.GuardClauses.Tests project) and performance-wise (in the Light.GuardClauses.Performance project).
- Send me a pull request for each feature: please keep your pull requests as small as possible. Don't put two or more features in the same pull request. I think small pull requests take considerably less time to evaluate.
And that's it - I hope to see a lot of feedback and PRs from you! Let's get into the nitty-gritty details of setting up your machine.
Light.GuardClauses uses the MSBuild 15 csproj format that allows multi-targeting different framework versions. Thus you should have a version of Visual Studio or MSBuild that supports this "new" csproj format (15.6 or later). Personally, I encourage you to use the latest RTM version of VS / MSBuild as this is normally the one that I use myself.
The source code contains two solution (sln) files that hold a different amount of projects: Light.GuardClauses.sln contains
- the production code Light.GuardClauses.csproj. It is built against
netstandard2.0;netstandard1.0;net45;net40;sl5;net35;net35-cfby default. - the xunit test project Light.GuardClauses.Tests.csproj. It is built against
netcoreapp2.1;netcoreapp1.1;net47by default. - the Benchmark.NET project Light.GuardClauses.Performance. It is built against
netcoreapp2.2;net47by default.
This "smaller" solution can be used when implementing and testing new features. Normally, you should not need to use the second solution Light.GuardClauses.AllProjects which contains five additional projects:
- two Roslyn analyzer projects that are used to check XML comments. You can build Light.GuardClauses.InternalRoslynAnalyzers and the Light.GuardClauses project will automatically pick up the analyzer in .NET Standard 2.0 mode after restarting Visual Studio. The analyzers will tell you when you do not choose the default XML comments for
parameterNameandmessageparameters. - a small unit test project specifically for .NET 3.5 Compact Framework (Light.GuardClauses.Tests.Net35CompactFramework)
- two projects that are used when merging the Light.GuardClauses source code into a single file. You can build and run Light.GuardClauses.SourceCodeTransformation to merge all code into a single file. Afterwards you can build Light.GuardClauses.Source to ensure that the generated code file can be compiled with .NET Standard 2.0. Furthermore, you can run the Light.GuardClauses.Tests project with
dotnet test --configuration SourceCodeto check if the generated file is semantically valid. Please ensure to temporarily make the enumStringComparisonTypepublic (if you chose to change the types' accessor tointernal, which is the default setting) because otherwise the tests will fail.
Light.GuardClauses supports a wide range of .NET framework versions. Some of these might not be present on your local development machine (especially the more exotic ones like old .NET versions or Silverlight 5). You can customize which target frameworks should be used for all the projects that can be found in Light.GuardClauses.sln.
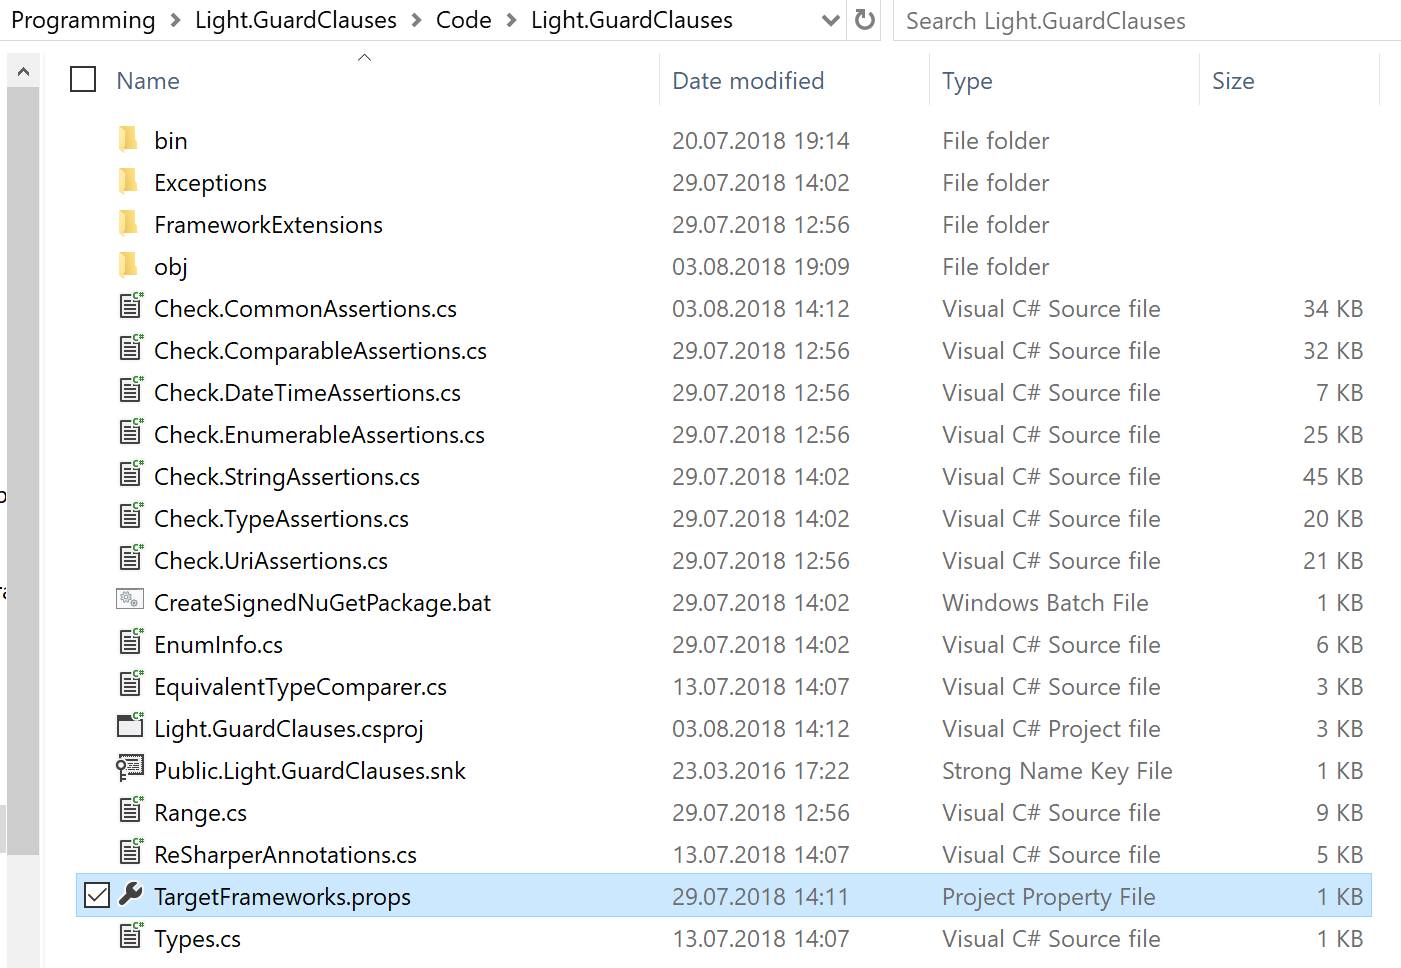
To achive that, create a text file named TargetFrameworks.props that resides alongside the corresponding csproj file (each of them needs its own TargetFramework.props file), just like this:
In this file, you can specify which TargetFrameworks should be used like this:
<Project xmlns="http://schemas.microsoft.com/developer/msbuild/2003">
  <PropertyGroup>
      <TargetFrameworks>netstandard2.0;net45</TargetFrameworks>
  </PropertyGroup>
</Project>
Be careful: Light.GuardClauses only supports the mentioned frameworks in the list above. If you use any other target framework that is not listed, there is no guarantee that the source code will compile.
You wonder what a typical assertion looks like? Let's take a look at the actual implementation of MustNotBeNullOrEmpty for strings to give you an idea:
        /// <summary>
        /// Ensures that the specified string is not null or empty, or otherwise throws an <see cref="ArgumentNullException" /> or <see cref="EmptyStringException" />.
        /// </summary>
        /// <param name="parameter">The string to be checked.</param>
        /// <param name="parameterName">The name of the parameter (optional).</param>
        /// <param name="message">The message that will be passed to the resulting exception (optional).</param>
        /// <exception cref="EmptyStringException">Thrown when <paramref name="parameter" /> is an empty string.</exception>
        /// <exception cref="ArgumentNullException">Thrown when <paramref name="parameter" /> is null.</exception>
#if (NETSTANDARD2_0 || NETSTANDARD1_0 || NET45 || SILVERLIGHT)
        [MethodImpl(MethodImplOptions.AggressiveInlining)]
#endif
        [ContractAnnotation("parameter:null => halt; parameter:notnull => notnull")]
        public static string MustNotBeNullOrEmpty(this string parameter, string parameterName = null, string message = null)
        {
            if (parameter == null)
                Throw.ArgumentNull(parameterName, message);
            if (parameter.Length == 0)
                Throw.EmptyString(parameterName, message);

            return parameter;
        }

        /// <summary>
        /// Ensures that the specified string is not null or empty, or otherwise throws your custom exception.
        /// </summary>
        /// <param name="parameter">The string to be checked.</param>
        /// <param name="exceptionFactory">The delegate that creates your custom exception. <paramref name="parameter" /> is passed to this delegate.</param>
        /// <exception cref="Exception">Your custom exception thrown when <paramref name="parameter" /> is an empty string or null.</exception>
#if (NETSTANDARD2_0 || NETSTANDARD1_0 || NET45 || SILVERLIGHT)
        [MethodImpl(MethodImplOptions.AggressiveInlining)]
#endif
        [ContractAnnotation("parameter:null => halt; parameter:notnull => notnull; exceptionFactory:null => halt")]
        public static string MustNotBeNullOrEmpty(this string parameter, Func<string, Exception> exceptionFactory)
        {
            if (string.IsNullOrEmpty(parameter))
                Throw.CustomException(exceptionFactory, parameter);
            return parameter;
        }
When you want to add your own assertions, please keep the following things in mind:
- Every assertion that throws exceptions (these begin with
Must...) usually has two overloads: one that takes an optionalparameterNameandmessageand one that takes anexceptionFactoryto throw a custom exception. - Do not throw exceptions within the assertion, use the
Throwclass instead. This is done for performance reasons as methods that only contain a throw statement are handled differently by the runtime (they are treated as cold paths by default which increases CPU instruction throughput, reducing the need to load code from different pages). Important: measure (i.e. write a performance benchmark for your new assertion)! - Most of the assertions only check one thing, but the example above actually checks two things: the string being null and the string being empty. When implementing your assertions, keep the following things in mind (as every assertion of Light.GuardClauses works this way):
- Always pass the
parameterNameandmessageto the resulting exception when the user specified it. - Always throw the custom exception, no matter which check fails inside an assertion.
- Always pass the
- When designing a new assertion, check if it would be useful to introduce a new exception class to the
Light.GuardClauses.Exceptionsnamespace (like theEmptyStringExceptionin the example above). The name of these exceptions should immediately point the end-user to the problem. Also, these exceptions usually derive fromArgumentException(directly or indirectly) as the main purpose of Light.GuardClauses is to validate parameters. Please ensure that this exception can be serialized in the frameworks that support this functionality. - When your assertion is not containing too many statements, please apply
MethodImplOptions.AggressiveInlining. This is done for performance reasons as the JIT will usually inline the statements in the calling method which avoids the method call overhead. Again, measure! - Where possible, tell R# how the return value looks like using Contract Annotations.
- Provide XML comments for your assertion
- Provide automated test that check every code path through the assertion.
- Provide a benchmark that checks the performance of your new assertion.